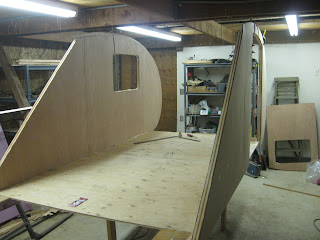
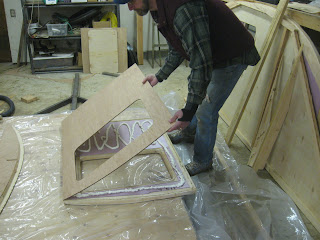
The walls are attached to the deck with liquid nails and 1 1/2" #14 screws. The deck was pulled out of the frame and put on a table so I could get underneath to run the screws up from the bottom. The sides are visible on the right side of this photo.
I cut a slot in the deck for where the tails come down to the deck. The slot will give any water that runs down the tails a place to go other then into the kitchen area. The wood here will be sealed with a good waterproof sealer so the water drains out rather than soaking in.
Here are several pictures of the sides after they were attached. A piece of bailing twine was used to tie the sides to the ceiling of the shop to hold them in place while everything set up. I'll build the rear bulkhead before moving anything. The bulkhead will provide shear strength so the walls will stay in place.
Saturday, September 3, 2011
Laminating the walls
Here's a couple of pictures of laminating one of the sides. The process was the same as for the door in the previous post.
Grandson Jonathan decided to do a compression test on the sandwich construction.
Laminating the door
I haven't posted for awhile, but work has been continuing. Here I show how the door was laminated. The walls will be done the same way. Wood framing has already been added to the inside plywood. GreatStuff foam goes in the cavity.
Next, the 1" foam goes in and more GreatStuff foam.
Next, a bead of glue on the frame pieces, and then the outside plywood goes on top.
The outside foam is tacked down with small brads (sorry, this picture is sort-of out of order)
Finally, the whole thing gets vacuum packed.
Next, the 1" foam goes in and more GreatStuff foam.
Next, a bead of glue on the frame pieces, and then the outside plywood goes on top.
The outside foam is tacked down with small brads (sorry, this picture is sort-of out of order)
Finally, the whole thing gets vacuum packed.
Subscribe to:
Posts (Atom)


